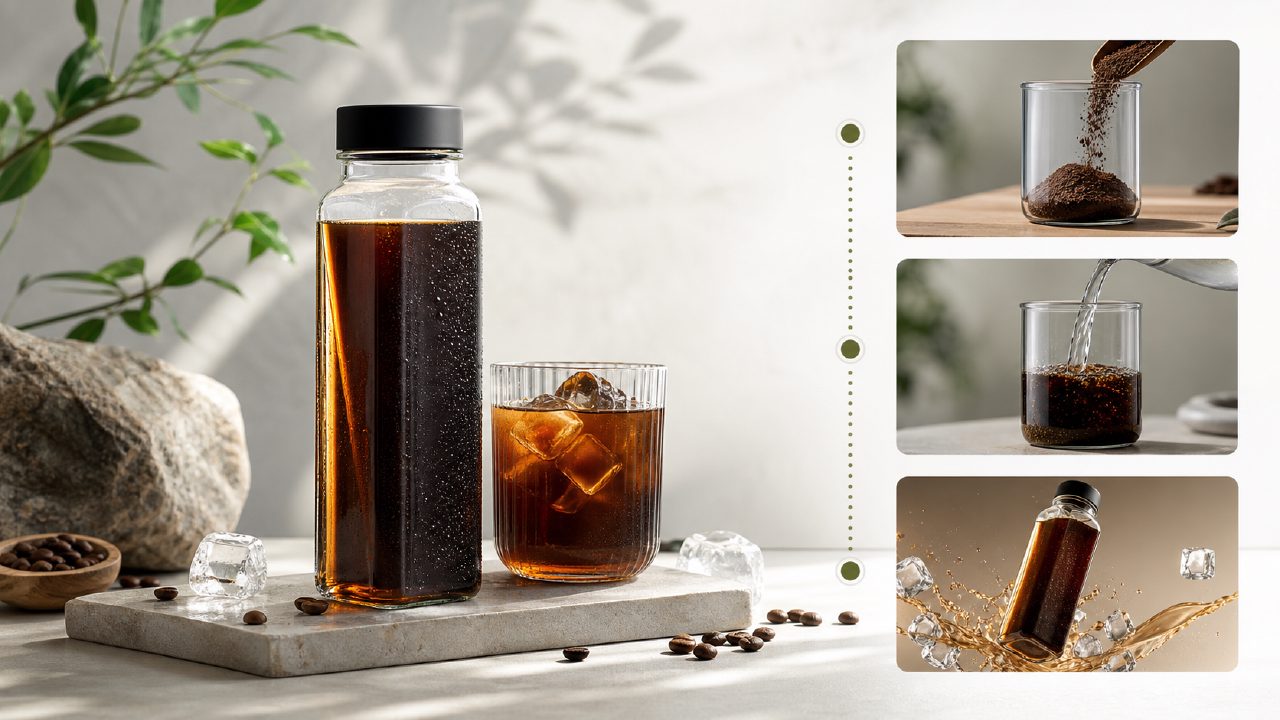
To make a product video, you used to have to write scripts, find footage, edit, and add voiceovers — it often took two or three days. If you're stuck at this stage, try using Sora to speed things up. No nonsense, let's walk through a real scenario: creating a 15-second e-commerce demo video for a cold brew coffee concentrate brand.
Step 1: Clarify what you want before you start
Many tutorials jump straight into writing prompts, but the most overlooked step is planning the visual structure. For cold brew concentrate, the core selling points are “instant dissolve in cold water” and “smooth texture.” I needed three shots: pouring the product into cold water, the liquid dissolving quickly, and a close-up of the final drink.
Don't rush to generate. First sketch out a storyboard in your notebook. It doesn't have to be well-drawn, but you need to note what elements, lighting, and movement direction each shot requires. Spending 10 minutes on this saves you an hour of detours later.
Step 2: Use Sora to generate key shots
Open the getsora2 platform and go to the video generation interface. I tested the first shot:
The prompt was: “cold brew coffee concentrate being poured into a clear glass of cold water, visible swirling and dissolving effect, top-down view, natural sunlight, realistic texture”.
I learned this the hard way: if you only write “pour coffee,” the model will produce many vague, cartoon-like images. Adding “top-down view” and “realistic texture” greatly improves the usability rate. The first generation took about 40 seconds and yielded three candidates. One had water flow that was too thick, another had too much splashing, and the remaining one was basically usable.
For the second shot, I uploaded a real dissolving process clip to the platform and gave instructions for the model to generate multi-angle variations with a similar style. This is a feature many people don't know about — Sora can continue the style based on your reference video instead of guessing from scratch every time.
Step 3: Organize the narrative logic before editing
After generating the video clips, I didn't directly throw them into editing software. First, I wrote a voiceover line: “Dissolves instantly in cold water, ready in 3 seconds.” Then I split this sentence into three rhythm points corresponding to the three shots: first second shows the product bottle, fifth second demonstrates pouring, tenth second gives a close-up of the finished drink.
Many tutorials skip this step, but it determines whether the video is “watchable” or “makes you want to buy.” When generating the video, consciously leave cropping space for each shot. For example, I asked the model to generate the pouring shot with an extra 2-second blank at the beginning, making it easy to add a text animation like “brewed with cold water” later.
Step 4: Choose the export format practically
When exporting, the platform offered several options: HD without watermark, version with subtitles, pure video without audio track. The cold brew brand planned to distribute on Douyin and video channels, so I chose the 16:9 cropped version, 1080p resolution, medium bitrate — too high a bitrate might actually cause compression noise on short-video platforms.
If you're making content for WeChat Moments ads or a brand website, you can choose the 4K version, but the file size will be four times larger. Base your choice on actual usage; don't blindly pursue the highest quality.
How much time does this workflow actually save?
From writing the storyboard to getting a usable final video, it took me about 50 minutes. Using traditional methods — hiring a photographer to film the dissolution process, plus lighting and post-production color grading — would take at least two days. But there's a premise: your product details shouldn't be too complex.
If you need to display very precise product structures (like internal components of digital devices), Sora's current detail accuracy is still somewhat unstable; you might see distorted lines when zooming in. In that case, it's better to use 3D rendering software for keyframes and then supplement with AI for backgrounds and lighting.
If your scene leans more toward “ambiance” rather than “precise display,” such as beverages, skincare products, or clothing outfits, this workflow is fully sufficient. Moreover, when you need to batch-produce videos for different flavors or colors, you only need to change the keywords in the prompts to quickly reuse the visual structure.
Finally, a practical note: don't expect one-shot perfection. Two of the three shots I made required 2-3 tweaks — either the lighting was off or the cup shape was skewed. But each adjustment only needed a few word changes, saving far more time than reshooting. If you're about to make a product video, open getsora2 first, spend half an hour running through this process, and it will likely go smoother than you expect.
Comments
Leave a Comment