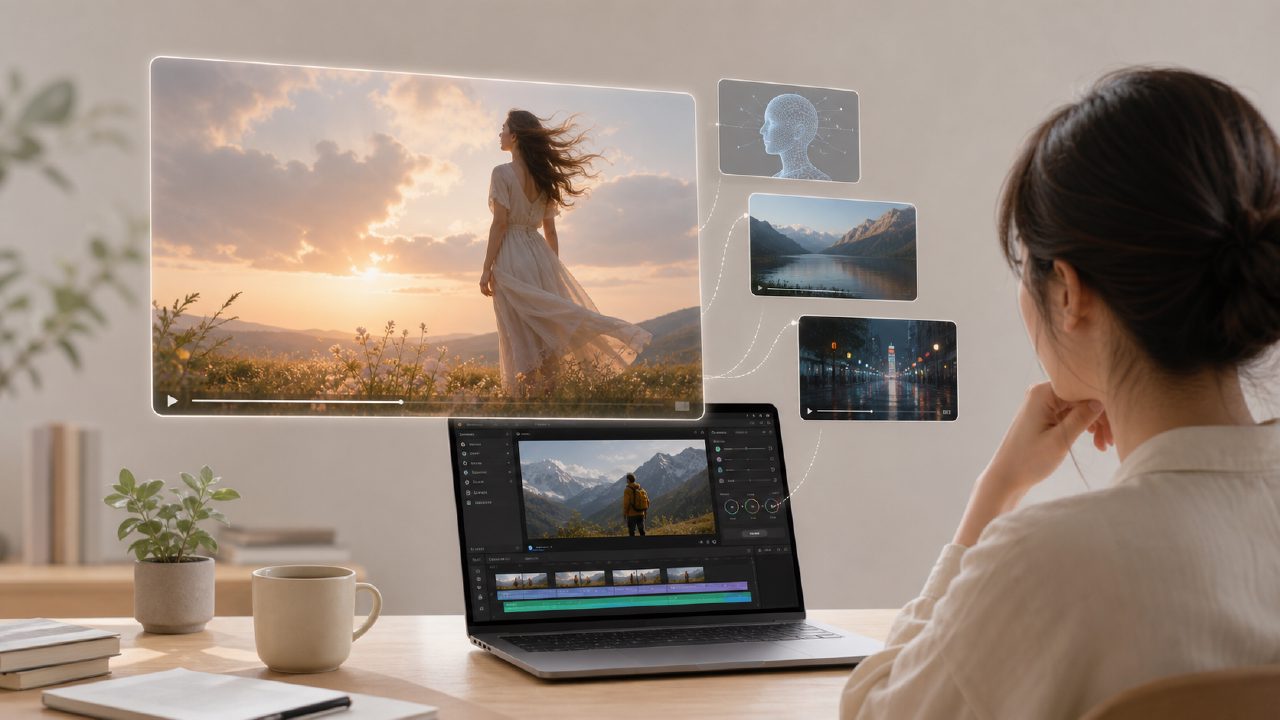
For those making AI videos, the biggest headache often isn't "what can be generated," but "how to make it look decent."
Many people have tried several tools, only to end up with distorted frames, characters floating around, or styles completely going off track. If you're stuck in the stage of "low output rate and high adjustment costs," the following points are basically the most practical directions I've found through hands-on work.
1. Don't rush to pile on prompts; first, lock down the scene
The most common mistake beginners make is being too greedy with their prompts. AI isn't smart enough yet to handle combinations like "sunset, seaside, slow motion, character turning around, hair flowing, seagulls in the background" all at once. The more you write, the more it tends to freelance — elements in the frame start fighting each other.
A better approach is: first lock in one core scene. For example, "a person watching the rain by a window in a room." Break down the scene's camera language, lighting, and atmosphere, then consider adding details. The tighter you lock it, the more controllable the AI's output becomes.
Many people found the early demos of Sora impressive, but a key reason is that each segment focused on a clear single-scene narrative, rather than mindlessly piling on effects.
2. Shot consistency is the dividing line between "looking professional" and not
AI video generation tools are iterating quickly, but most people's outputs look fake at first glance. The core issue isn't image quality, but incoherent shot logic.
For example, if your first frame is a close-up of a character's face, and the next frame cuts to a wide shot, the character's pose, expression, and environmental lighting have all changed. At that moment, the audience is instantly thrown out of the scene.
The solution isn't complicated: If you're using tools that support image-to-video, try to extend the same character image + the same environmental lighting. This way, even when switching shots, the visual logic of the physical world stays consistent.
Some platforms (including specialized pipeline optimization tools like getsora2) already offer simple shot transition mapping. If your scenes don't require extreme cinematic quality, just use them directly.
3. Control the range of motion; AI fears "overdrive"
Many AI video tutorials won't tell you: more motion isn't always better.
AI can often handle a person walking. But asking it to walk while turning their head and raising a hand to adjust their collar dramatically increases the error rate — either arms clip through the body or the face distorts.
A practical suggestion: Let each video segment have only one primary action for one core object/person. For example, "character stands up from a chair" + "gaze steadily toward the camera" is much safer than "character stands up, turns around, picks up a cup from the table, takes a sip."
If you're aiming for more complex action combinations, be prepared to rely on post-production stitching or segmenting generation then editing. At this stage, no publicly available AI model can stably handle high-density continuous actions.
4. Don't forget: 3–5 second clips are the mainstream
This might go against many people's expectations — longer AI videos aren't necessarily better. Current mainstream AI video generation models (whether based on Sora-like architectures or not) are most stable in quality within the 3-to-5 second range.
Videos longer than 8 seconds, even when run on the most expensive models, often exhibit strange distortions or frame jitter in the last second or two. So be pragmatic: break your creative script into 3–5 second small segments, then edit them together, rather than expecting AI to generate a 30-second complete short in one go.
Another benefit: if a middle segment goes wrong, you only need to regenerate those 2 seconds, not scrap the entire project, saving a lot of time.
5. How to choose a tool? Start with "what do you really need"
There are indeed many AI video tools on the market now. Just talking about "features" can easily confuse. In fact, you need to ask yourself three questions:
- Do you want high-quality standalone short films? Then pick models that invest heavily in frame detail — though generation time and cost may be higher.
- Do you want to batch-produce material quickly? Then find a tool with efficient pipelines and support for multiple fine-tuning iterations (e.g., getsora2, which has batch processing capability). Visual ceiling doesn't have to be ultimate; sufficient is enough.
- Do you want highly controllable styles? Then look for tools that support multi-layer control (like Canny, depth map guidance), but be willing to spend time learning parameters.
No tool is a champion in everything. First recognize your priority in this round, and you won't get dizzy choosing.
6. A practical summary
No matter how many AI video generation tutorials you watch, it's better to run through a complete pipeline yourself: from locking the scene, to controlling motion, to segmenting generation, to editing and splicing. Forget about dazzling image quality at first; first make "logical coherence" happen, and you'll see a significant improvement in output rate.
As for claims like "one-click generate cinematic masterpieces," just take them with a grain of salt. Real efficiency comes from your understanding of every controllable node.
Comments
Leave a Comment